Sustainable Evil

DevilDoll

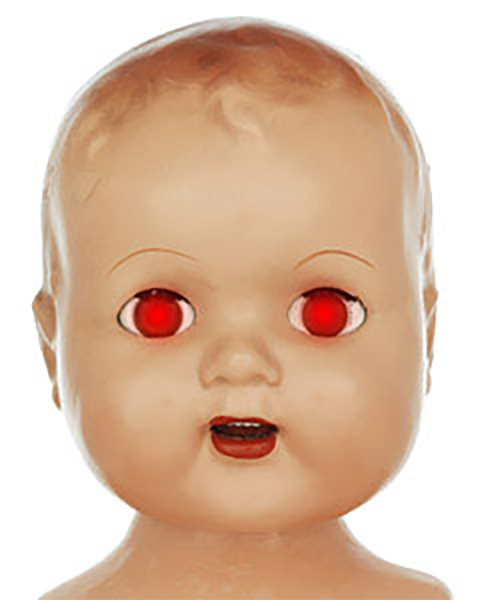
Meet Lil’ Beelzebub, the adorable doll that shoots beams of pure evil from its eyes when you rub its hair!! No batteries required!

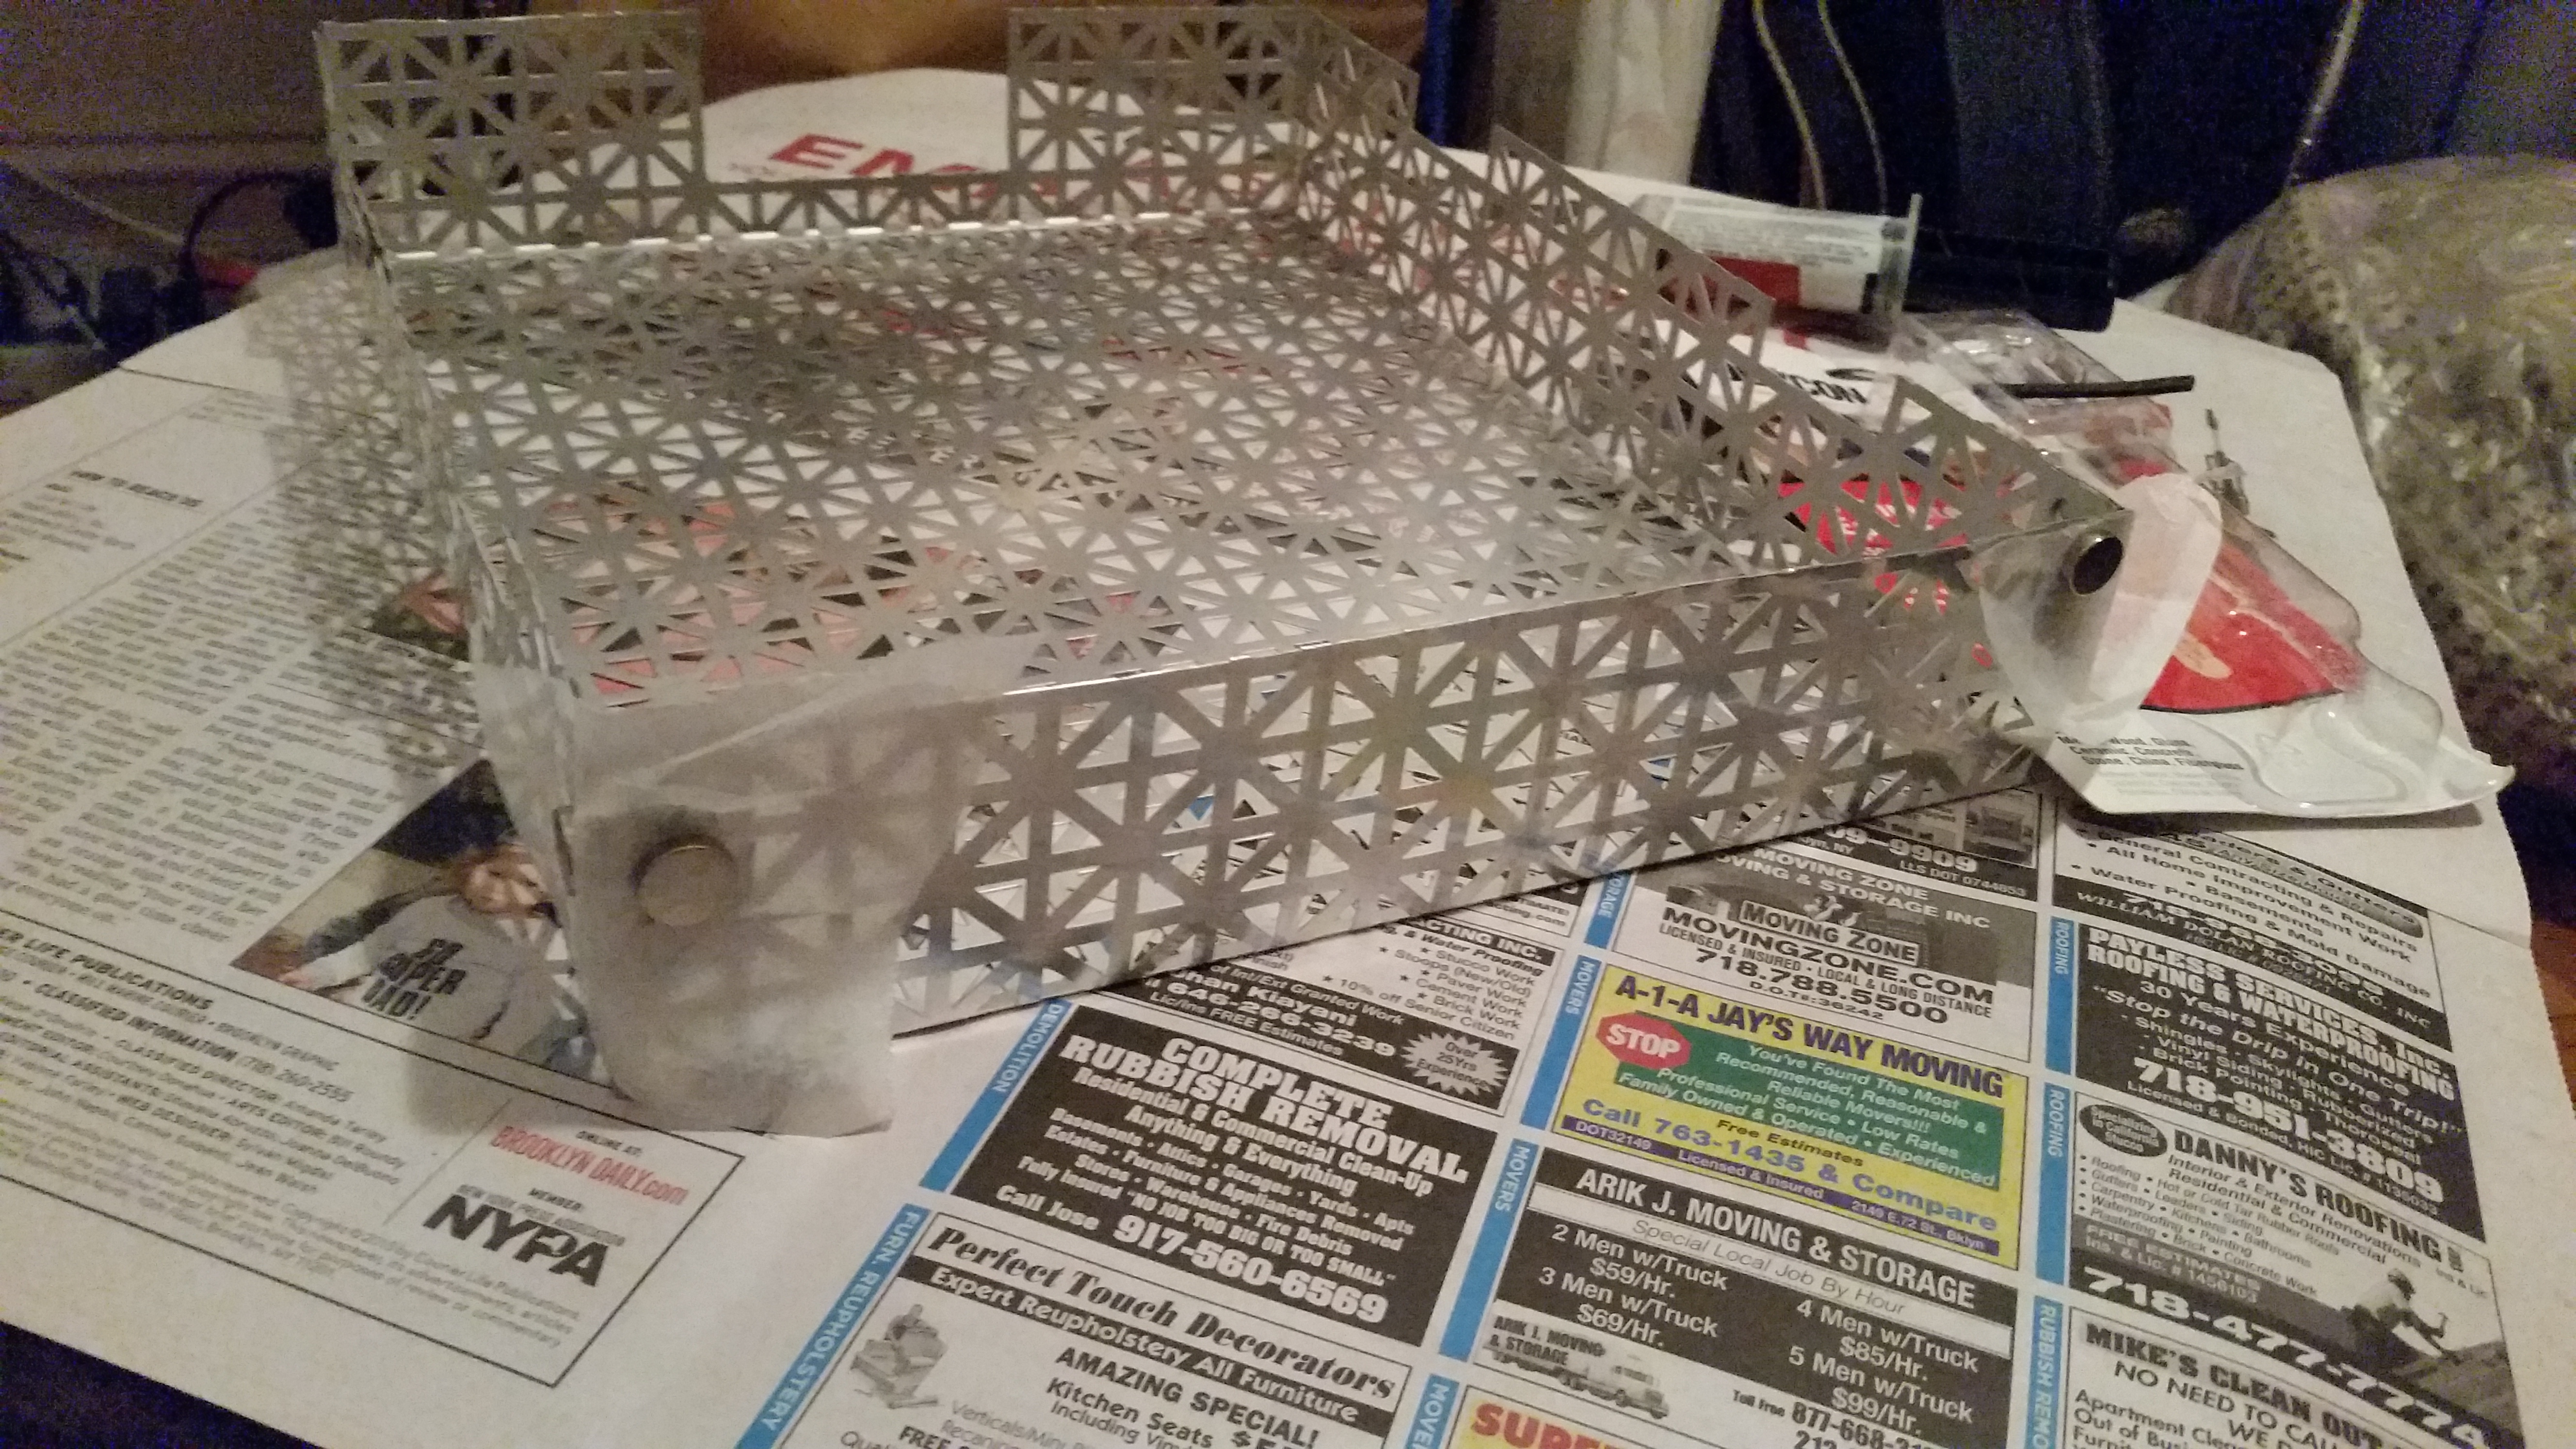
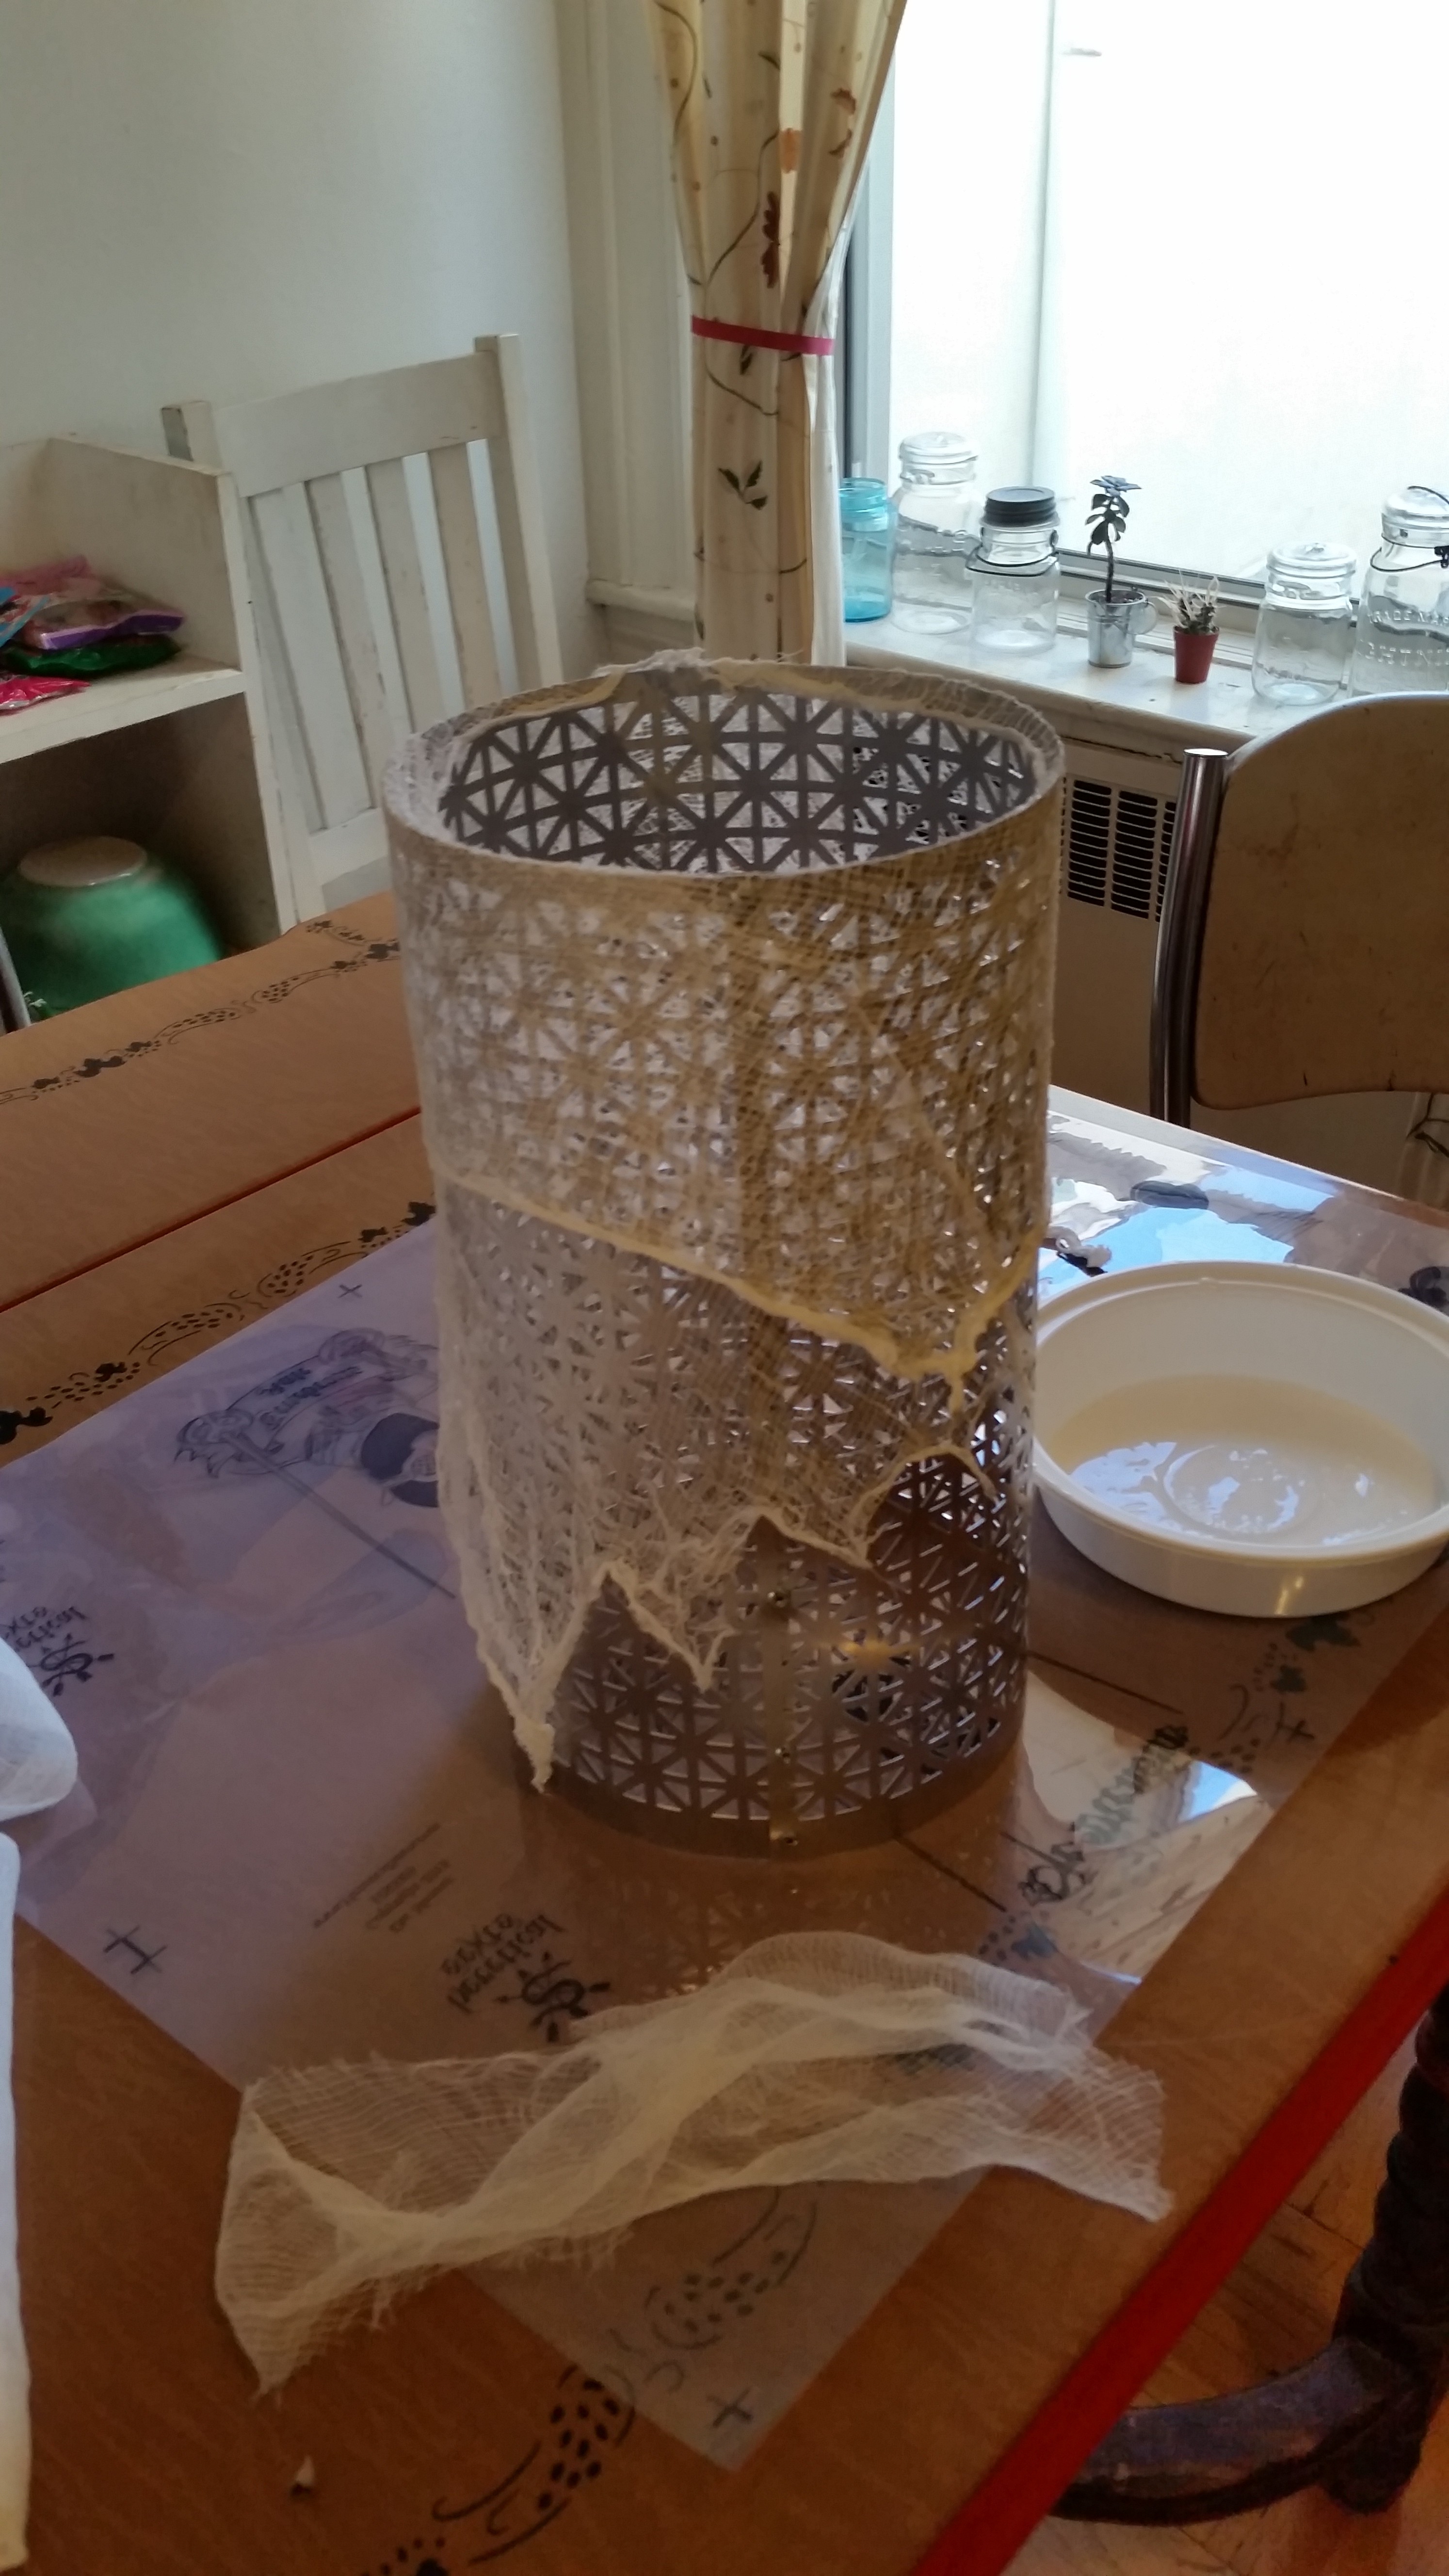
The more serious proposal is to create a working triboelectric nanogenerator (TENG) using strips of teflon and acrylic film, and demonstrate the concept by mounting it as the “hair” of a doll and using the power harvested from it to light up the doll’s eyes. I intend to build on the research of Professor Zhong Lin Wang’s group at Georgia Tech, who have published a number of papers on different methods of generating, harvesting and storing triboelectric energy.

I’m hesitant to propose a specific bill of materials at this point, as at least half of this project will be experimentation before the final piece is assembled, but at a minimum it will involve:

teflon film

acrylic film

copper foil

capacitors

LEDs

doll

As of right now, I have the teflon and acrylic films (as well as plenty of copper foil and a decent selection of capacitors) and am ready to begin experiments.  My first main concerns are establishing that the process works as I think it does, and secondarily, figuring out how to integrate the triboelectric surfaces with the electrodes. Then I will move on to harvesting and storage systems (paying special attention to the very high transient voltages that are likely to be generated) and finally construction of the doll itself. My goal is to have informed answers to the first two questions by next week, and then proceed based on that information.

Further reading on TENGs:

http://nanoscience.gatech.edu/paper/2014/14_FD_01.pdf

http://www.nanoscience.gatech.edu/paper/2013/13_ACSN_08.pdf

http://www.nature.com/ncomms/2016/160311/ncomms10987/full/ncomms10987.html

The Little Robot that Could (Burn Down the Building)

20160309_202022

A robot that attempts to light a match!

MasterCircuit

The circuit is a Miller Solar Engine, employing a single 65mm solar panel, a TC54 voltage detector and 4700 uF and 10 uF capacitors to periodically fire a low-voltage motor and grind a match head on a striker held against it by a spring.

Total storage capacitance is 4700 uF; at the 3.16V triggering voltage of the circuit, the system is storing and then releasing 0.0235 joules of energy. The timing capacitor across the voltage detector has a capacitance of 10 uF.

(NB: out of an abundance of caution, we’re replacing the real match with a dummy match if/when our robot is put on display)

Turntable Generator

For this assignment, our group, consisting of Jared Friedman, Naoki Ishizuka, Yuan Gao and Nicola Carpeggiani, decided to try to create light by spinning a record-player turntable. We theorized that every turntable would have a motor that could be used not only to play a vinyl record but also to generate electricity from kinetic energy.

Our first goal was to maintain the original audio structure of the turntable, to create sounds at the same time as energy while the user was spinning the turntable, but that turned out to be impossible given everything we had to modify to make the turntable work as a generator.

Here’s the process :

We found a used Kenwood kd 29-r belt traction turntable, and we opened it up to check what was inside it and to see if we could use the built-in DC servo motor as a generator.

20160222_145250

As we can see in the photo, the DC servo, with the green label on it, is the original motor. This motor drove a belt system, which spun the platter around a fixed spindle in the center. After trying and failing to generate a voltage from its power connections, we decided to completely replace both motor and spindle with a five-wire stepper motor placed with its shaft where the spindle had been. We shimmed it with a piece of silicone sheet we found on the junk shelf to couple the platter with the shaft.

20160222_145044

Unfortunately for us, the spindle had been doing a great deal of work stabilizing the motion – without the tightly-engineered shaft and bearing in place, the platter wobbled quite a bit as it spun. We got around this by nudging it into as cooperative a place as we could, and liberally coating all interior surfaces with white lithium grease.

20160222_145102

As an output, we used 6 white LEDs. We put them in parallel with a 1-F 5.5V capacitor to collect the unused energy made by the spin of the turntable. While it took quite a bit of time to charge initially (spinning the motor and outputting no light), the capacitor eventually allowed a nicely sustained glow from the LEDs after the user stopped actively spinning.

20160222_144652

After that, we covered the platter with another metal plate, which both stabilized things further and stored some excess kinetic energy as a very rudimentary flywheel.

Measurements we took from the system were a peak open circuit voltage of 5.5+ volts, and a short circuit current of around 30 mA, again fluctuating wildly with user input.

20160222_144655

20160222_144632

The results were not what we had expected at the start, because we originally wanted to also play an LP while spinning/scratching, but in the end, we definitely created light from kinetic energy, and learned a great deal about the difficulties and peculiarities of the process.

Random Music

A waltz, somewhat mine, somewhat the user’s, somewhat random.

Sketch at http://gemuse.org/RandomMusic3

Code (and not pretty code either) at https://github.com/jareddfriedman/RandomMusic3/blob/master/mainCode

Realized Notes

https://github.com/jareddfriedman/SoundMemoryGame/blob/master/MainCode

http://www.gemuse.org/SoundMemoryGame2/

Sculpted Notes

Root, flat 3, flat 2, 4.

Fun with Microbes


I’m afraid I haven’t come up with any great ideas for biological video games per se, but I have been thinking of two applications for microbes that might yield interesting results.

First, because  the first thing a tinker sees in a new town is his horse, I have been thinking about screen prints and slime molds. The idea would be to screen print either food or chemo-attractant and/or repellent compounds (see http://eprints.uwe.ac.uk/14752/1/PhysarumHerbsPaper.pdf) onto paper in meaningful pattern(s) and allow slime molds to propagate. Some applications of this might be:

  • printing the same pattern multiple times onto different sheets and seeing the range of actual “designs” expressed by ostensibly identical growing/moving molds
  • printing data visualizations, allowing the mold to “process” the data and then iterating the process by photographing the results and making a new print based on the observed behavior of the mold
  • printing one “attractant” image and one “repellent” image on top of one another

Second, we could devise a cellular automaton (a la Conway’s Game of Life) and then implement it with electrodes and paramecia – e.g. we take a grid of electrodes, turn some of them on, and then make modifications based on the actual response of actual organisms to the stimuli.

Notes on Notes

ThreeChords

I’m still a little unclear on what the notes are supposed to be, though maybe that’s a feature and not a bug.

I think John Cage’s ideas are fascinating, and wonderful food for thought, but at the end of the day (and it certainly is the end of the day) I am a troglodyte. I like music that moves me in one way or another. I like songs. I like singles. I even like to dance.

The first two notes I (tentatively?) choose are the tonic and minor third (or major sixth). I use these terms very roughly, but it’s a relationship that I’ve always been enthralled by, and it seems to function in a particular way across a wide range of musical styles:

https://www.youtube.com/watch?v=eAedphqfm7k

And then, if it helps to have more notes, I’d add the fourth and the minor second.

“Amplifier”

For my final project for fabrication, I decided to build an “amp” to go with the guitar I made earlier, to hold and display the output portion of my final Physical Computing project – four walkmen, four sets of computer speakers, and a really big, ugly circuit. When I initially presented it, all the components were staged on a board:

2015-12-14 09.56.54

Pretty good for transport, not so much for display, and very little flair.

My idea was to make something that used ideas from old stereos and musical equipment but updated and tweaked them. I decided I would build a wooden cabinet, and crown it with a metal grille/enclosure that would somewhat obscure the circuit while allowing the other elements to be displayed more prominently.

I began with a trip to Lowe’s. I wanted to avoid using plywood if possible, but I knew that, with the dimensions of the cabinet being what they are (~18 x 18 x 21), it would be very difficult to find (and even more difficult to afford) solid boards wide enough. I found some edge-glued aspen panels that were quite reasonable, and bought enough to do the job. I also picked up a sheet of union-jack decorative aluminum radiator cover (my new standard, apparently), “mission oak” stain, some aluminum rod and various bits of hardware.

My first step on the actual project was cutting the panels to size using the panel saw:

2015-12-12 13.00.32

I then corner-clamped, screwed and glued the panels together to make the body of the cabinet.

2015-12-12 16.22.36

Once I had accomplished that, I cut out and bent the aluminum for the top, using the electric nibbler (amazing!) a regular nibbler (equally amazing!) and the press brake.

I then cut down my aluminum rod and polished it with the bench grinder and tripoli compound. I was amazed at how easily the aluminum took a shine (my previous polishing experiences having been with 304 stainless and copper plates), and then amazed at how many deep nicks and scratches were on the rod from its time on the shelf at Lowe’s. In retrospect, I should not have been amazed. Oh well, it’s still shiny.

I then got the whole thing assembled (using corner braces to attach the middle shelf) and filled my screw-holes with wood filler.

2015-12-13 07.06.10

2015-12-13 09.02.31

Next step was to sand and stain. I sanded everything down, treated the wood with pre-stain, and brushed on the stain.

I then needed to stabilize the aluminum box for the top. I used corner braces and 5-minute epoxy, holding the corners in place with magnets while the epoxy set.

2015-12-13 22.31.18

And then I temporarily removed the middle shelf and attached a piece of fabric to the back wall with upholstery tacks, both to add visual interest (and provide another “amp” element) and to cover the rather unsightly holes I had to bore to allow the cords of the speakers to pass through into the back (where the power supply will go). Then I drove the aluminum rods into position, and it was done!

2015-12-14 09.56.26

With the electronics installed, it looks like this:

2015-12-14 10.24.00 2015-12-14 10.24.08 2015-12-14 10.24.31

All in all, I’m pretty happy with it. There are definitely things I would build differently if I had to make it again, but it’s a definite improvement over the board.

Mood Lighting

This week, I decided to make a lampshade from fabric and aluminum.

I purchased a sheet of decorative punched aluminum (radiator cover, etc.), a wooden disc, a ceramic lamp base, a package of cheesecloth and a bottle of Aleene’s Fabric Stiffener and Draping Liquid. I cut the aluminum to size and drilled several holes at each end for rivets.

Step one: bend the metal –

2015-12-05 10.29.45

Step two: rivet –

2015-12-06 13.48.31

Step three: soak cheesecloth in fabric stiffener and drape –

2015-12-06 14.01.13

2015-12-06 14.22.12

Step four: wire lamp (repurposing an old extension cord) –

2015-12-07 11.12.28

Step five: attach lamp to base –

2015-12-07 11.19.22

Step six: let there be light!

2015-12-07 11.19.16

2015-12-07 11.18.30

All in all, I’m pretty happy with it. I really like the contrast of the chaotic/organic form of the fabric with the rigid geometry of the metal, especially as the metal is fairly well hidden when the light is off and comes as a bit of a surprise when it’s turned on. I think I’ll put it on an end table somewhere.