One of my bigger struggles at ITP has been my innate tendency towards Luddism. I know it’s crazy, and I know that the world moves forwards and not backwards (that’s why I’m at ITP, of course), but there’s an internal Andy Rooney sitting in the back of my head that uses words like “newfangled.” I can’t help it.
So I think, of all my colleagues, I might have been the least excited about developing a project for the laser cutter. But it is a tremendously useful tool, and the things it can do are amazing. I just have to keep telling myself that it is indeed a tool, wrought by human hands and minds, and not the advance guard of the robot takeover. Anyway, I digress.
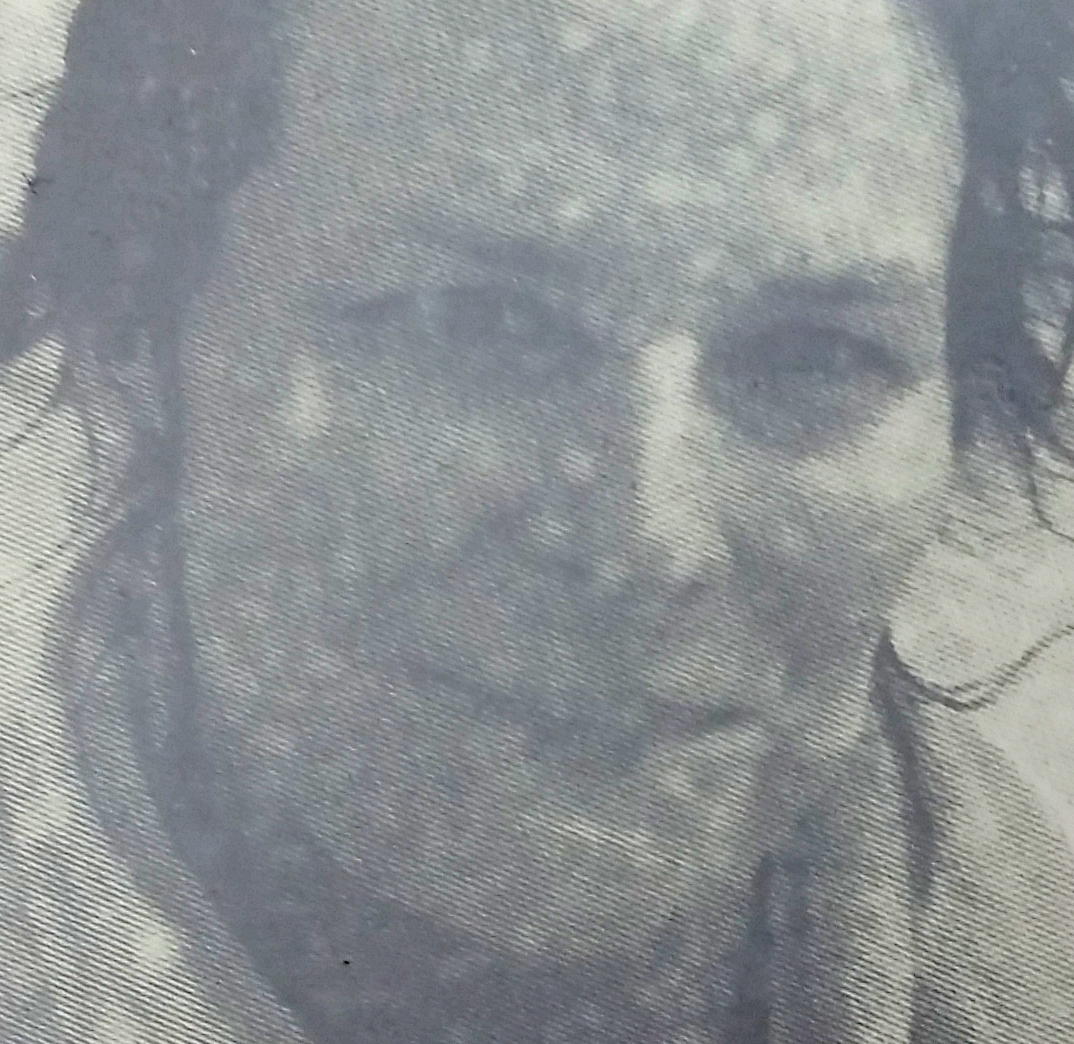
This week, I decided to build on an idea I’ve been working with for a little while, etching photographs into metal. As a screen printer, when I’m given a photographic image to print (or any image with shading and tonality), the first step is to break it down into a halftone, a matrix of black and white dots. This is done easily enough in Photoshop, and then we can either print the black onto a light surface or the white onto a dark surface. And the surfaces and inks don’t have to be actually black and white, of course – as long as the relationship of dark to light is preserved, you get essentially the photo you started with.
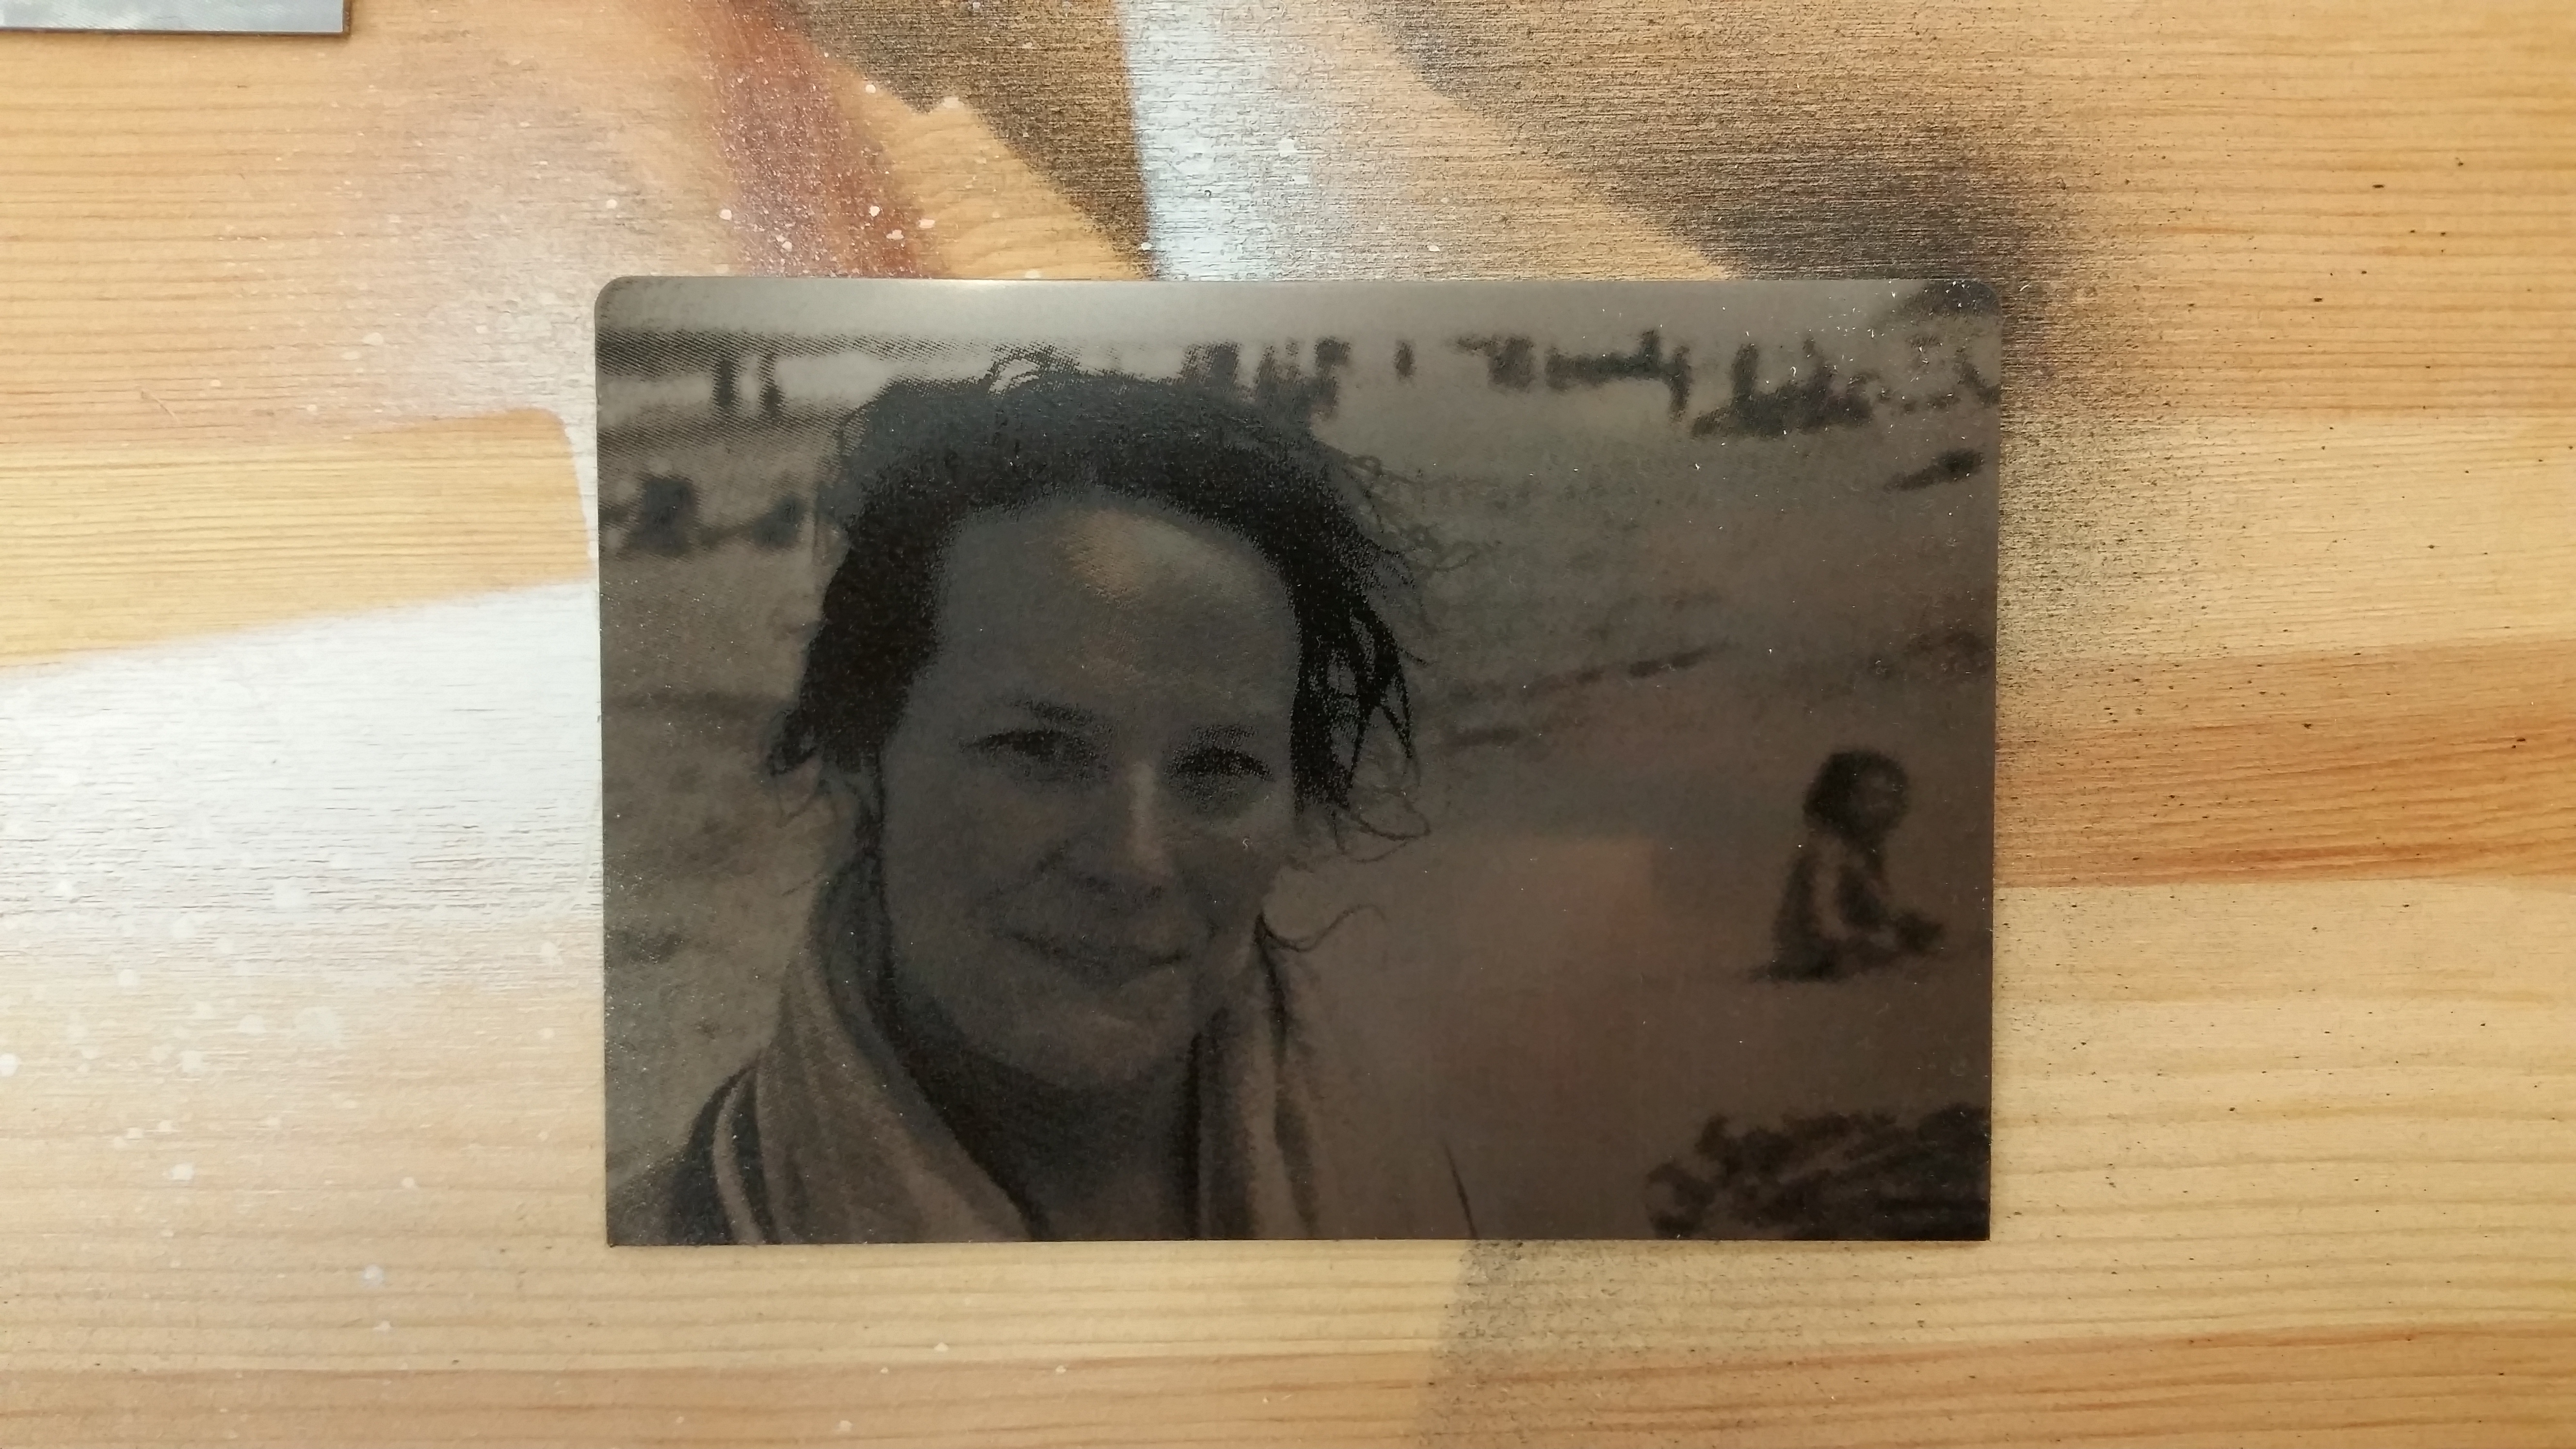
But this presumes matte inks and surfaces, where the paper is always one color and the ink is always another. Metal, of course, can appear to be any color in any moment, depending on lighting and surroundings, and so the etched photographs I’ve made (using acid and a screenprinted resist, where the “background” is mirror-finished steel and the “foreground” is etch, or vice-versa) look “right” only part of the time. They also hearken back to Daguerreotypes, which were similarly metallic. It’s a mysterious and rather beautiful look.
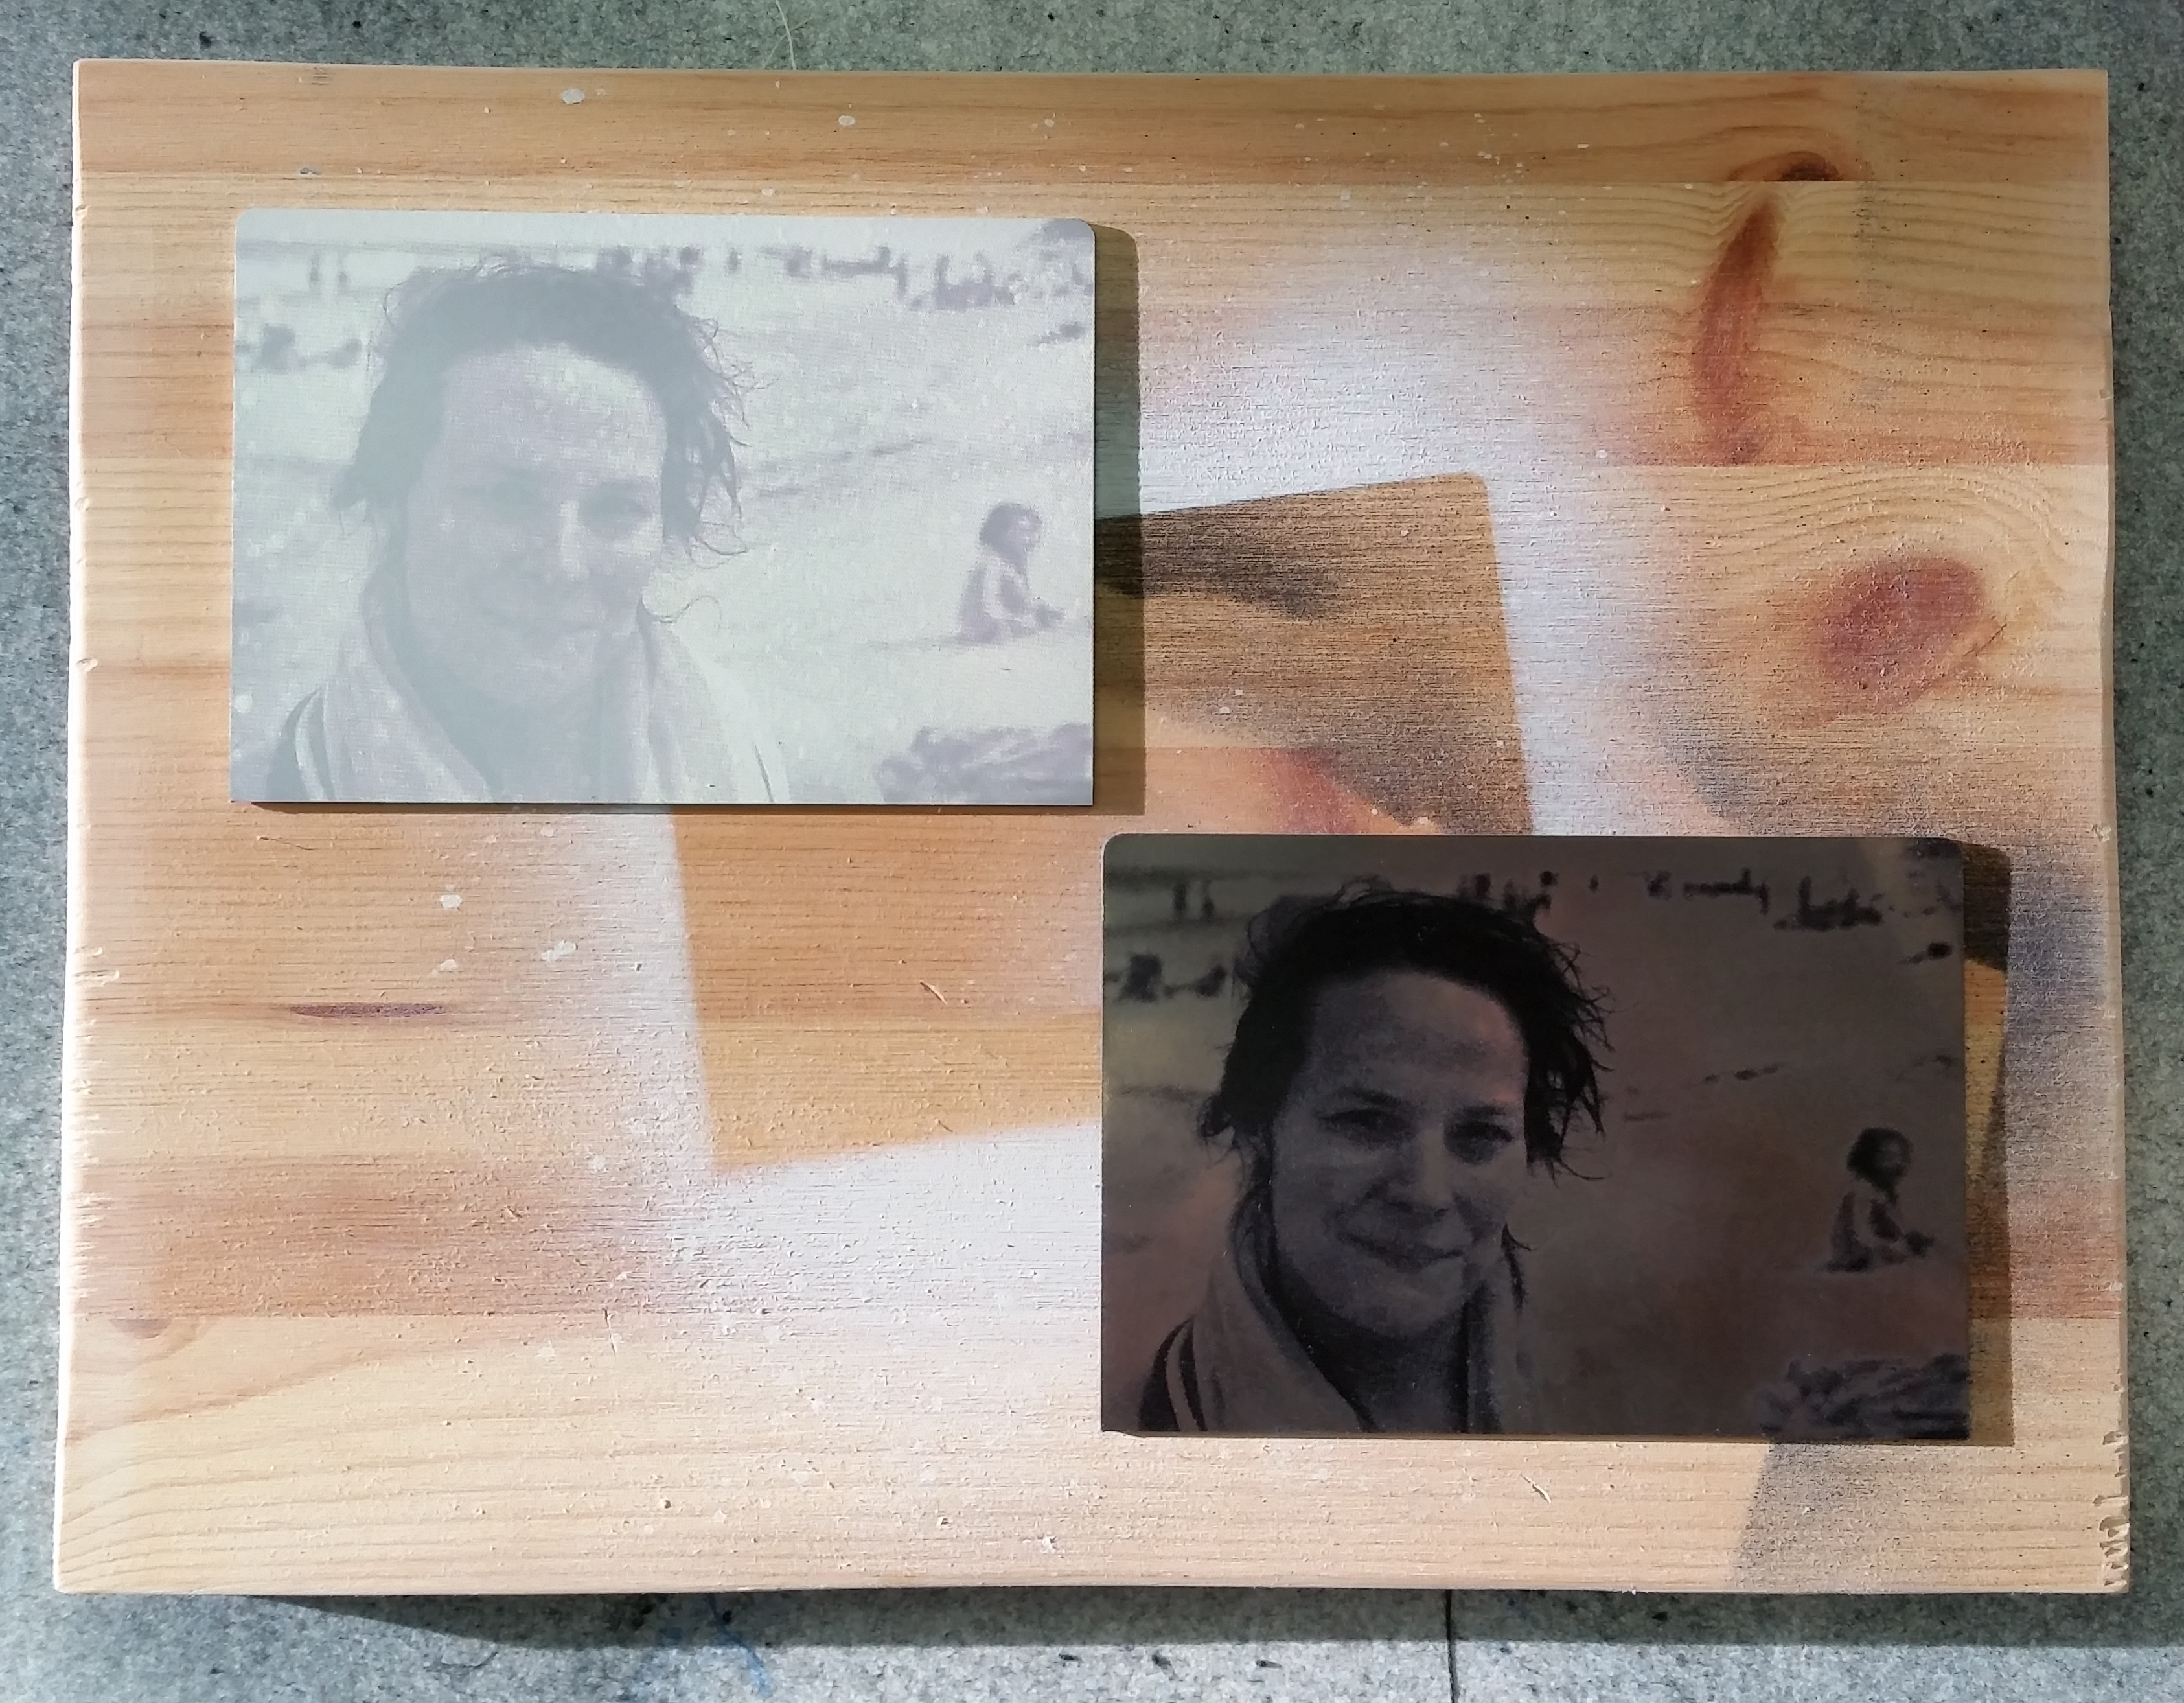
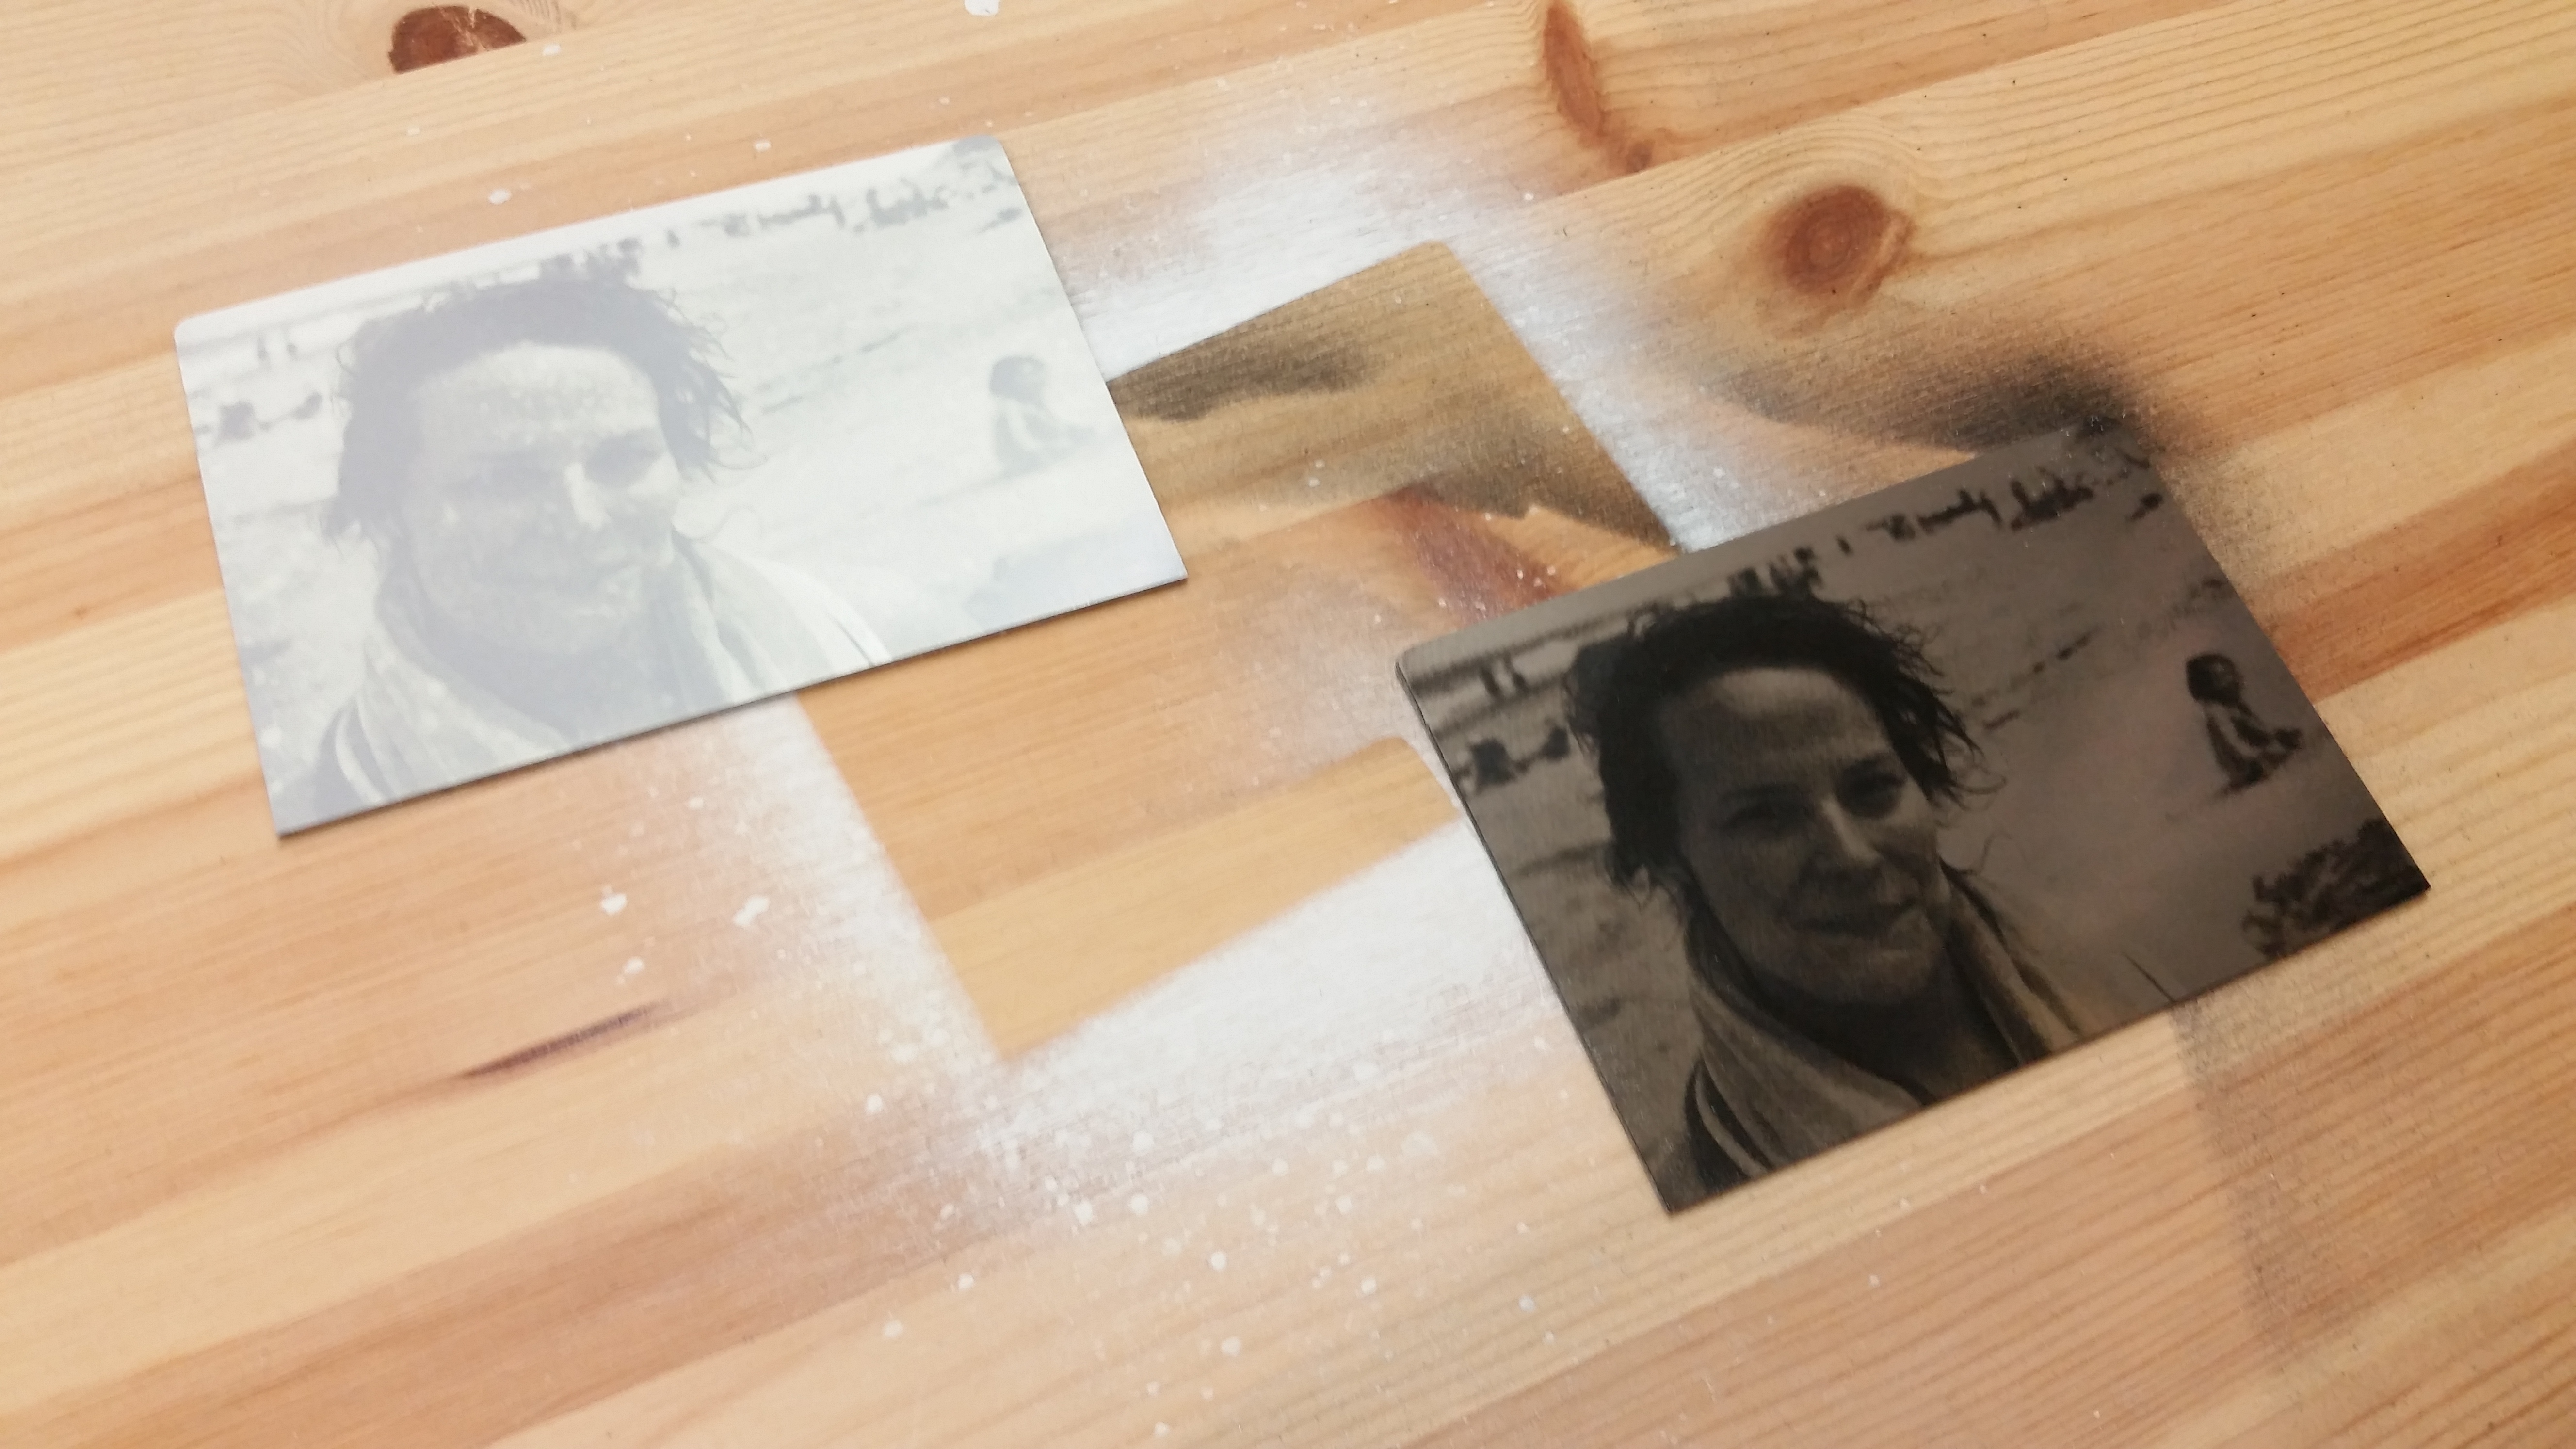
My plan this time was to coat a couple of stainless steel plates with black and white spraypaint and etch the same photo into each, with the etch on the black inverted from the etch on the white.

I chose a photo I took of my girlfriend at the beach a while back that I’ve always meant to do something with but hadn’t got around to actually using. It seemed like a good candidate, given that there are highlights and lowlights, and plenty of smooth grays, where the inherent confusion of the metallic surface can really shine. I broke it down into a 75-line halftone at 600 dpi, loaded it into Illustrator on the shop computers, and hit “print.”
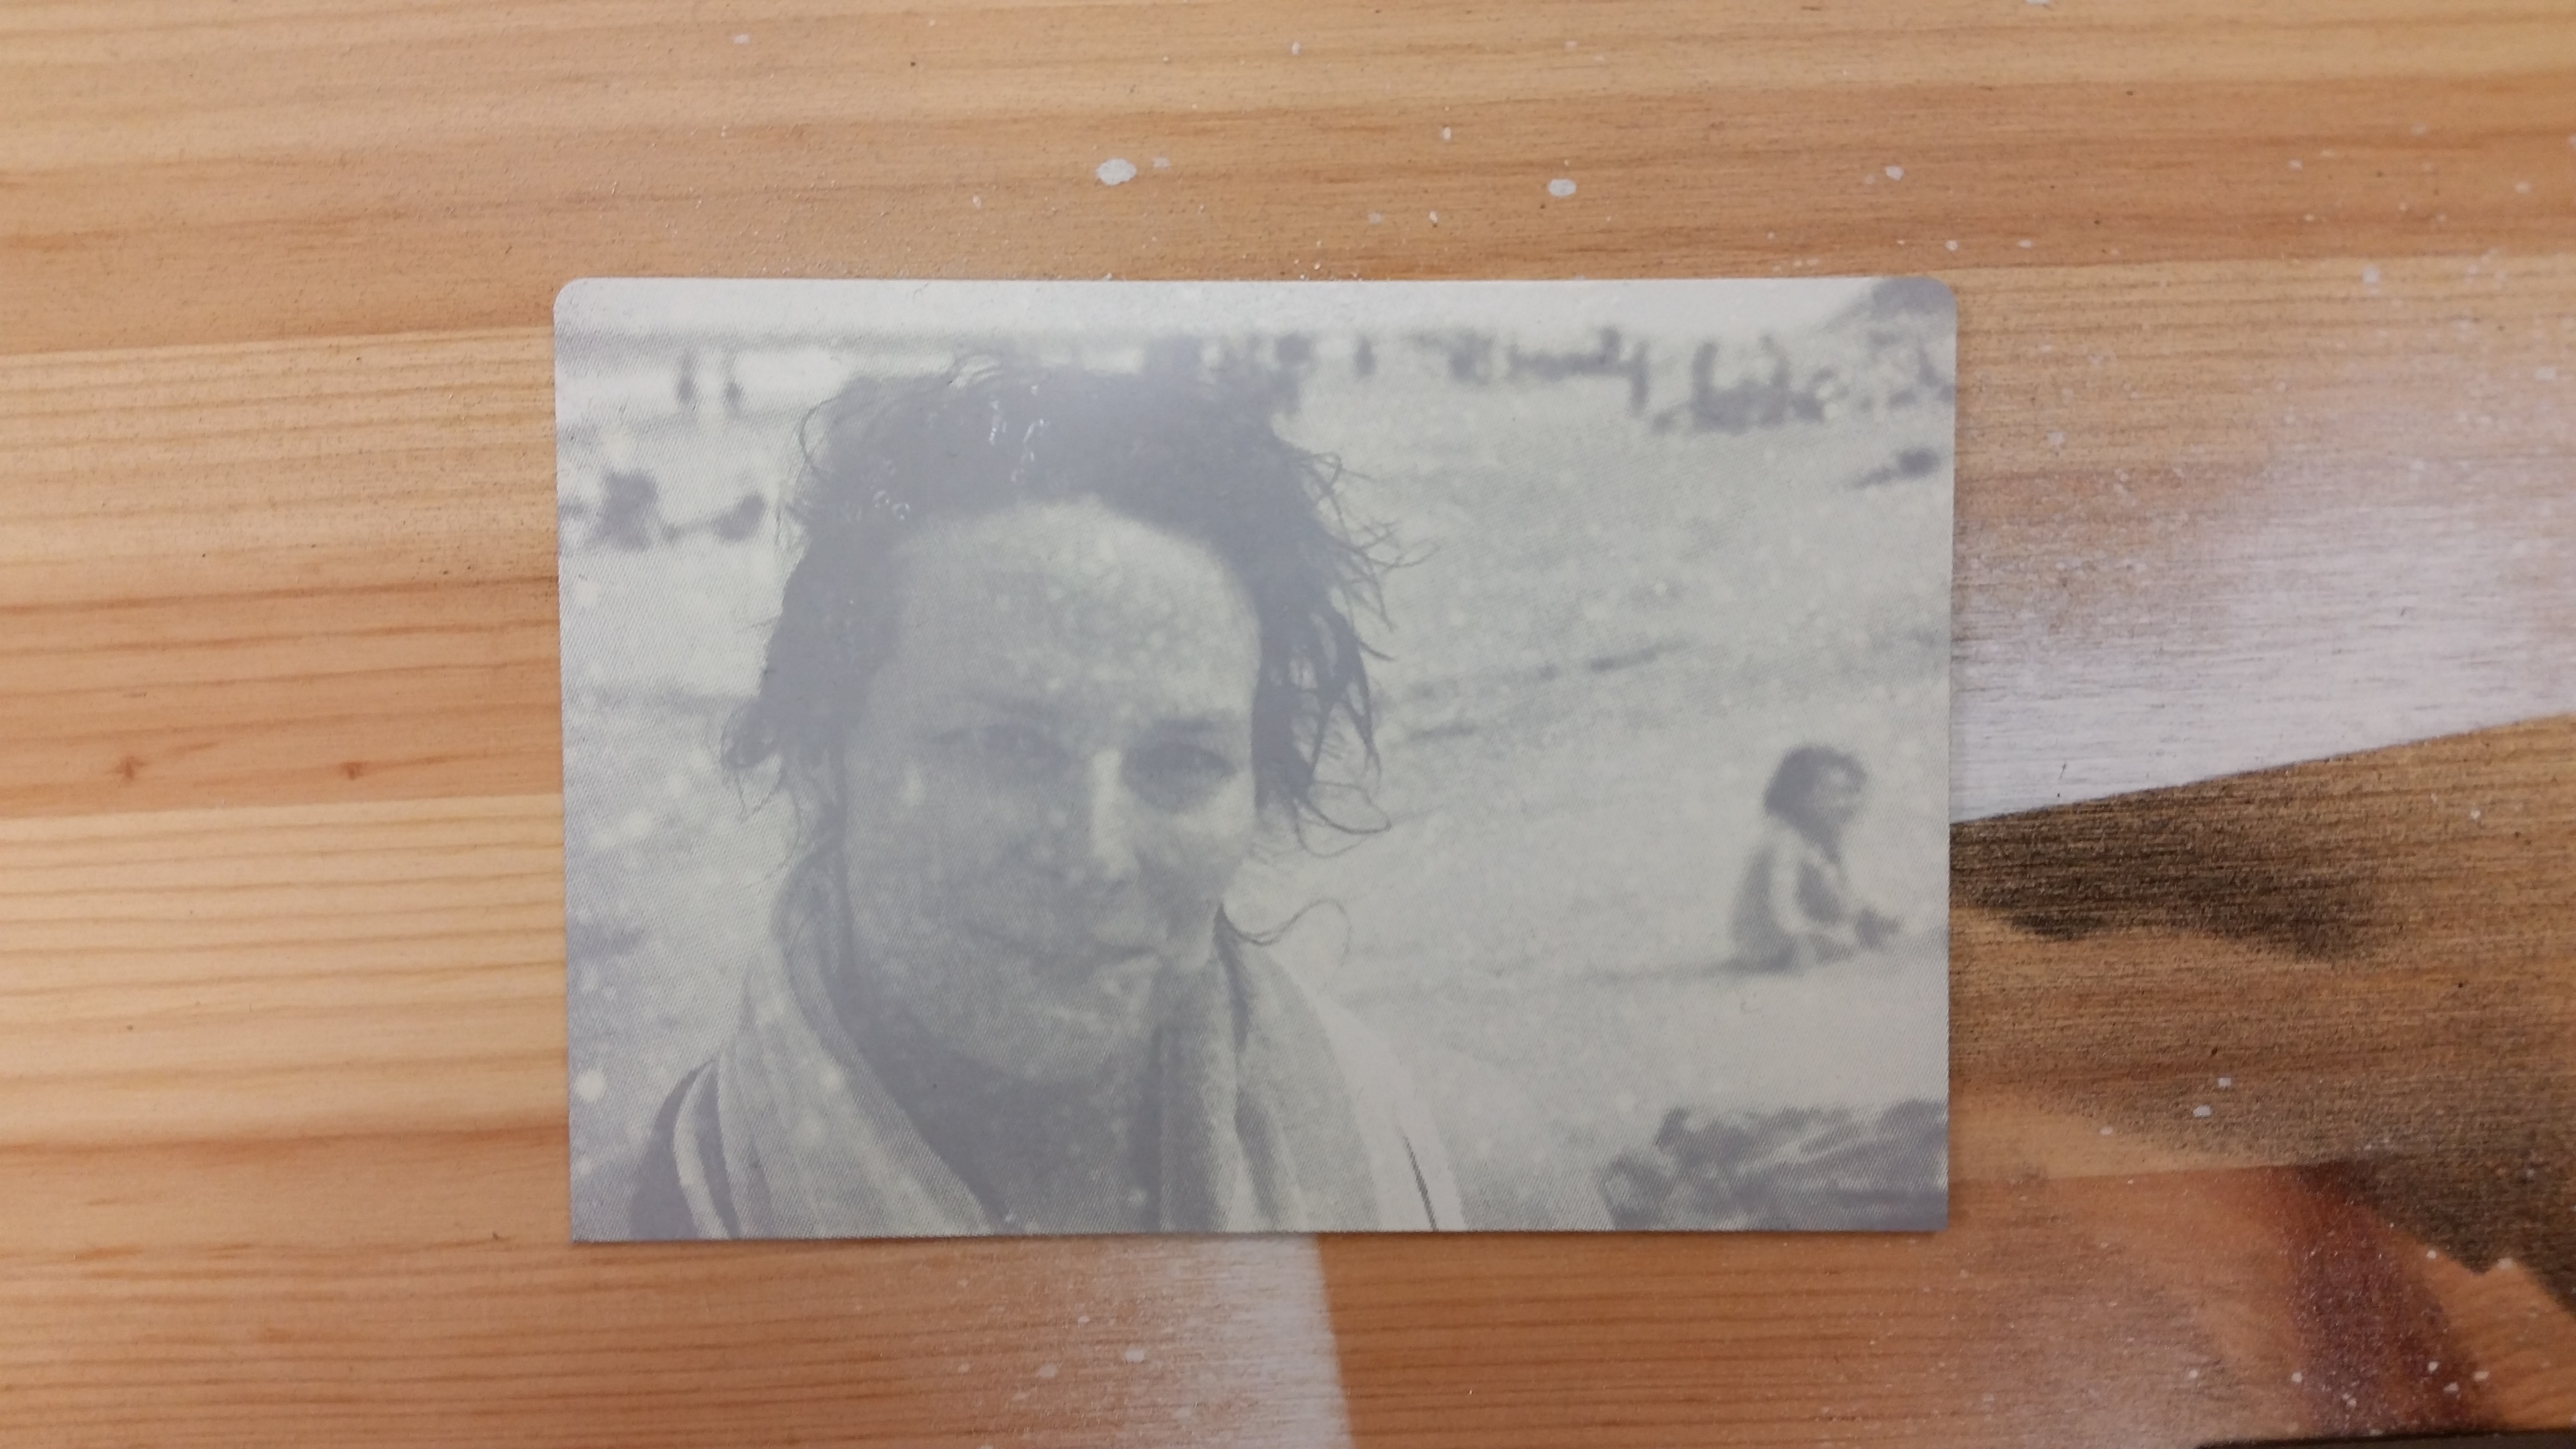
The only real issue I had was with the dithering. Obviously, in order for the laser to etch a surface, it needs to know where to etch and where not to, and it’s a binary process (i.e. you can’t get a weak etch on a lightly toned spot, but only 100% or 0% etch), exactly like screenprinting. In order to accomplish this, the software employs a dither (a halftone filter, either regular or stochastic) that can’t be defeated. I had already halftoned my image in Photoshop, in anticipation of needing pure blacks and whites for the machine, but I couldn’t get it not to re-dither my work. After a little experimentation, though, I found a setting that preserved my halftone pretty well.
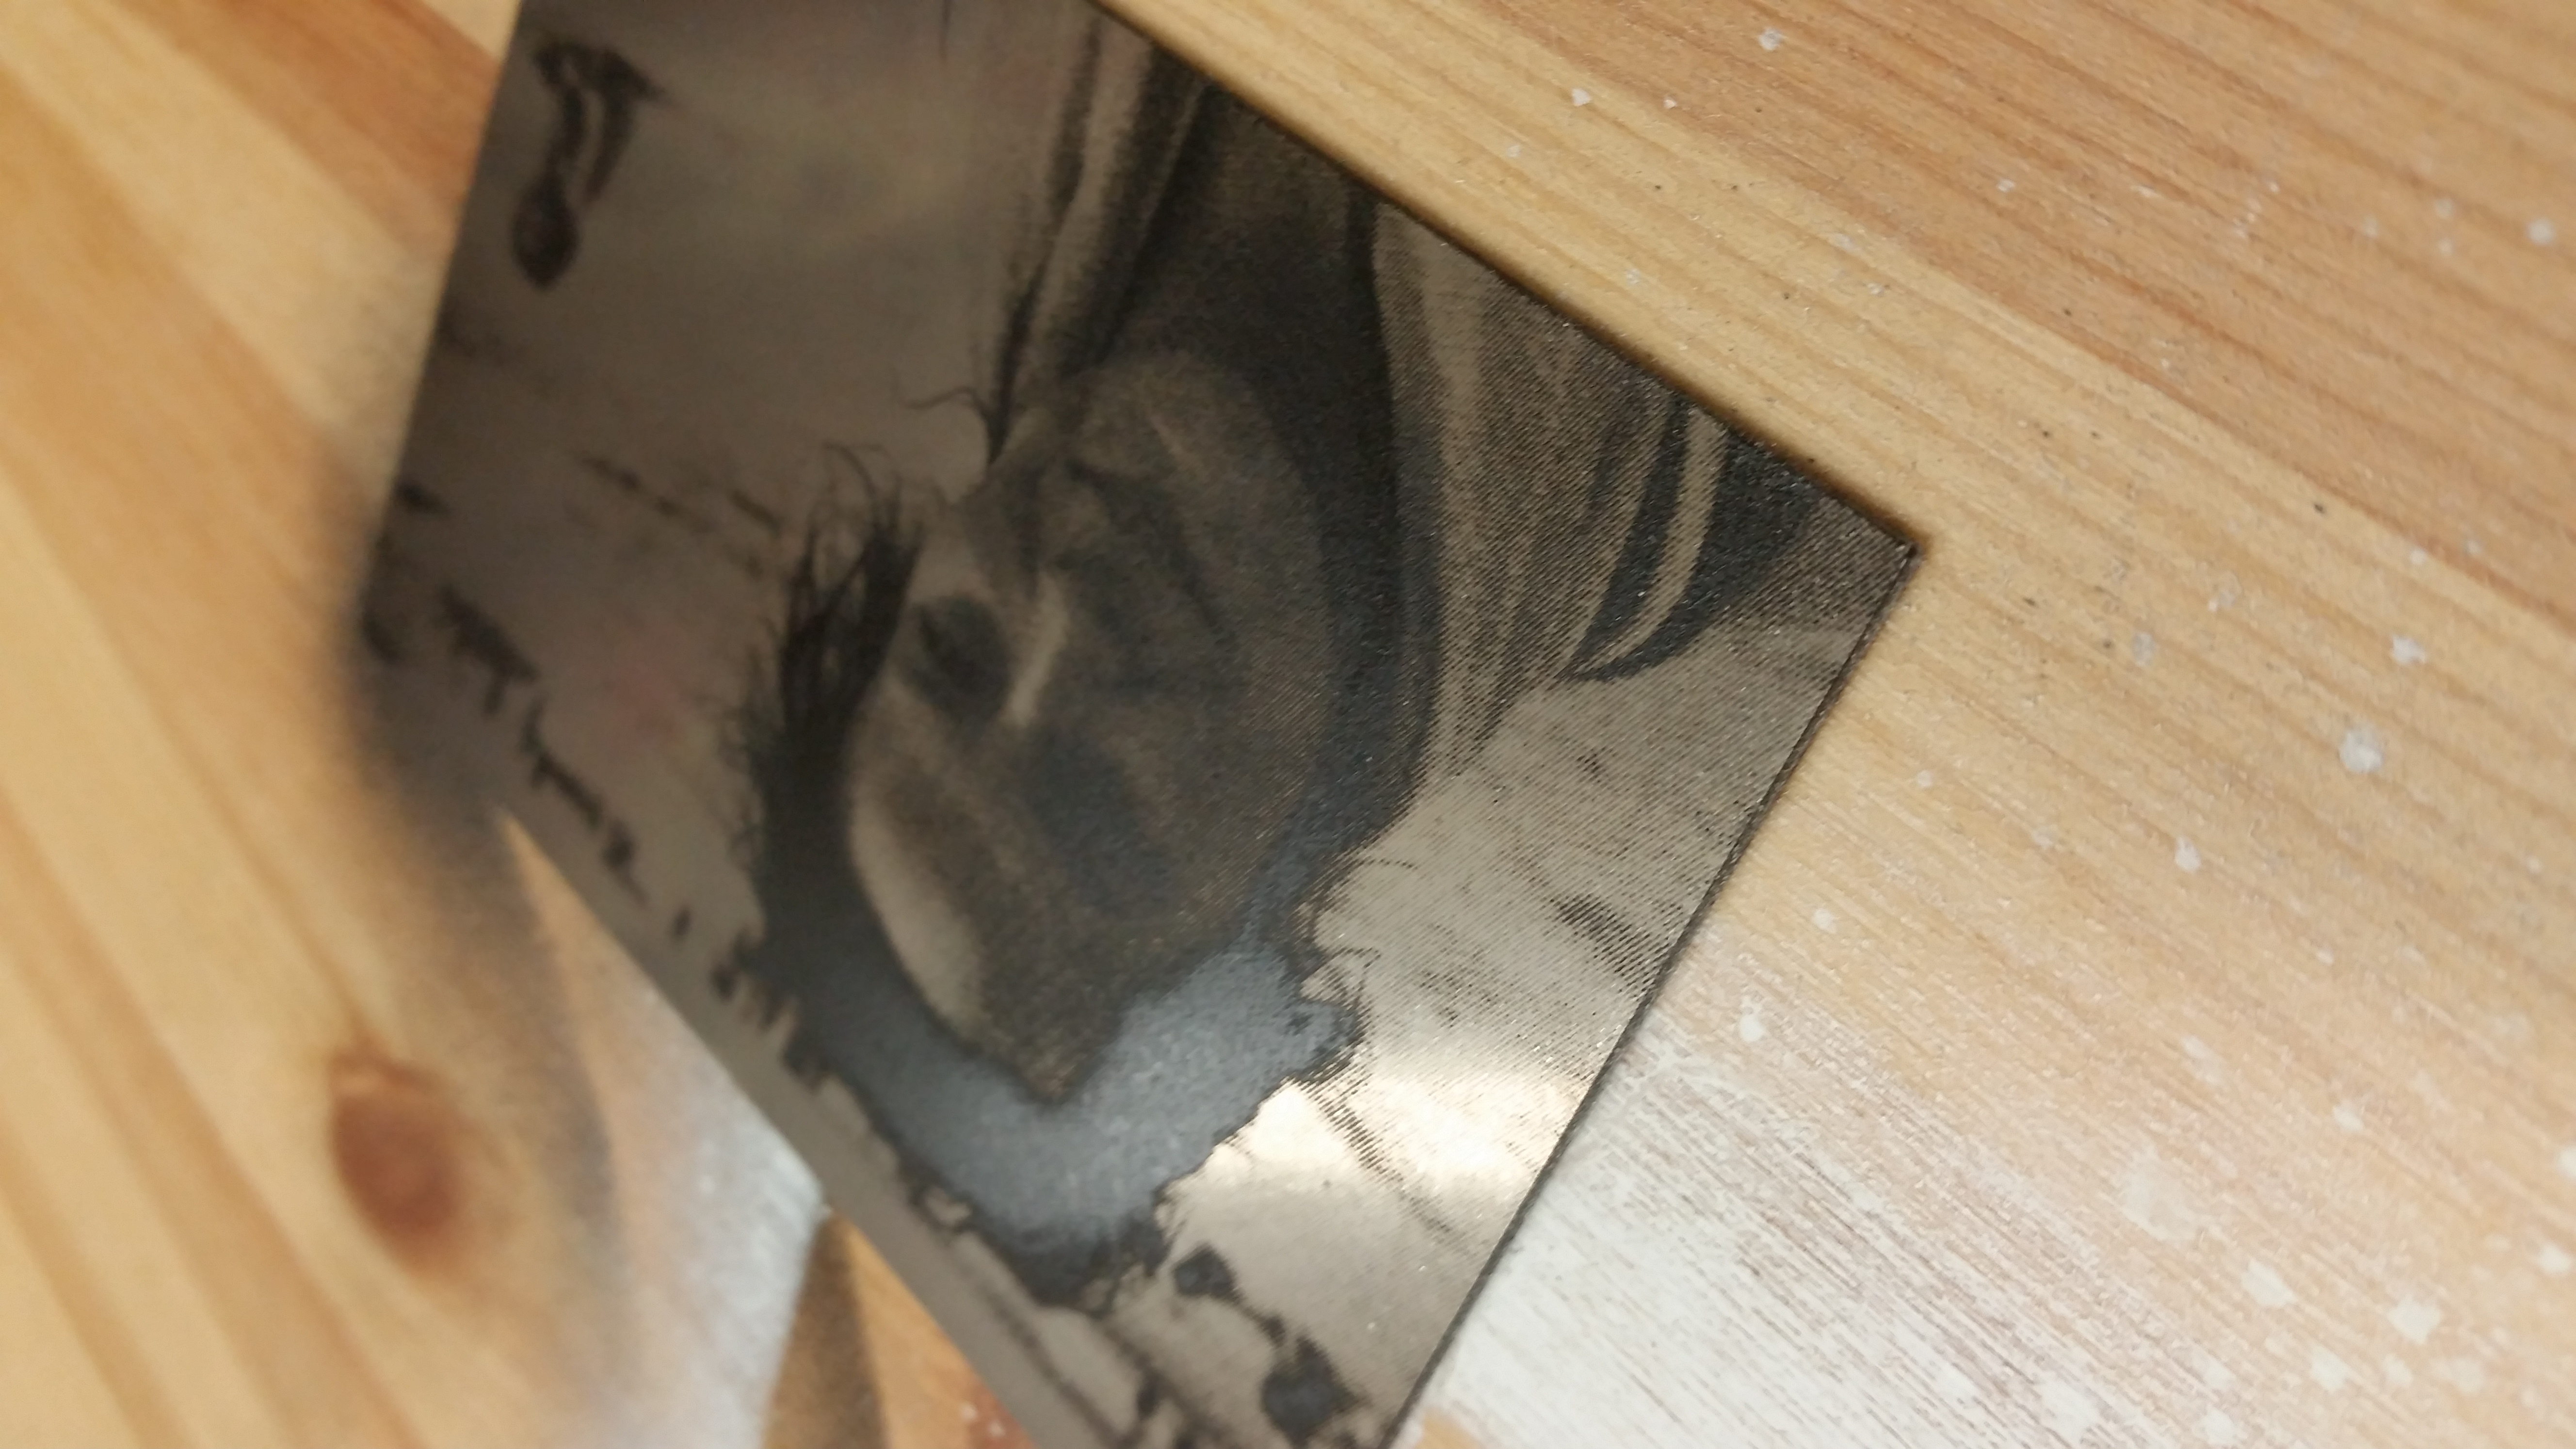
Also, I discovered just how dependent laser etching is on the thickness of the surface being etched. When I was preparing the white plate, the paint I was using had some problems – it started coming out in hideous chunks. Eventually, after lots of shaking, and spraying with the can inverted, I got it to coat more or less evenly, but when I etched the plate, there were some speckles in the image that I’m certain were originally droplets in the paint. They look really interesting (and add a random/human touch) but if I were going for perfection, I would have been in trouble.
Then it was time to mount the photos together for presentation. I had thought about maybe using cloth or a folded card, again as a vague throwback to 19th- and early-20th-century portraits, but then, as I was looking around my shop for materials, I found the board I had been using to spray the plates on, with a really interesting looking outline of a plate in white paint. I cut out a chunk of the right size, mounted the plates with 2-part epoxy, and voila!